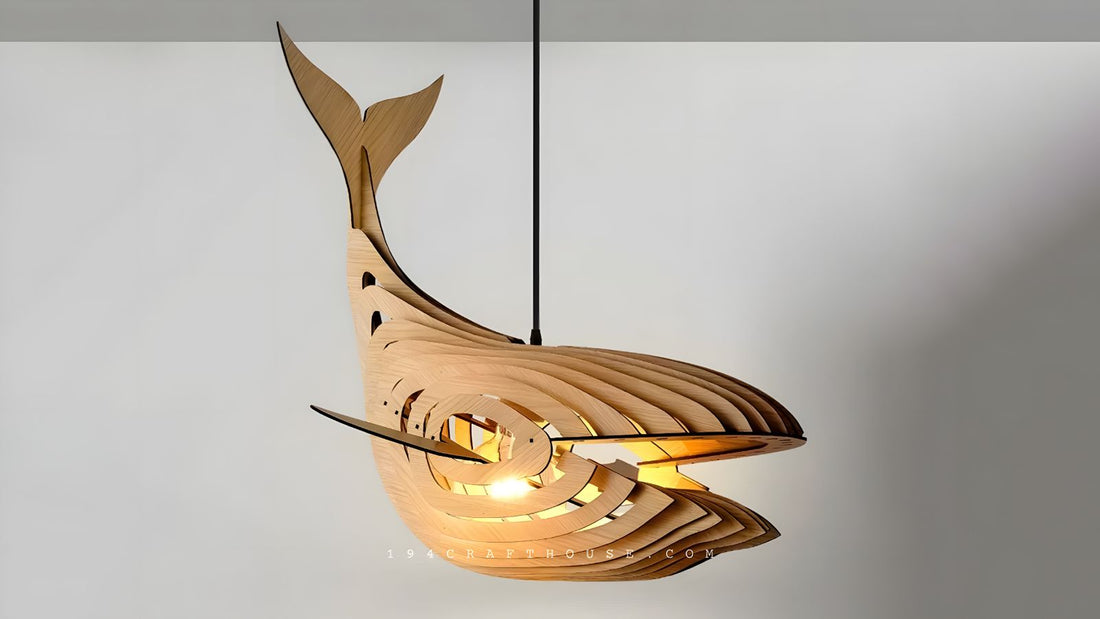
Embark on a journey of illuminating charm with our complete guide to installing a wood whale pendant light!
Whether you're a seasoned DIY enthusiast or new to wood pendant light decor, our step-by-step tutorial is here to assist you. We'll guide you through the assembly process, address any challenges, and provide valuable tips to ensure your whale light shines brightly with ease during installation.
Let's get started!
How To Install a Wood Whale Pendant Light
Materials You'll Need
Hold tight before we begin – let's make sure you're armed with everything you need for a seamless installation right on the package you purchased from us.
- Wood whale pendant light kit.
- Screwdriver set.
- Ceiling hooks or anchors.
- Wire stripper.
- Wire connectors.
- Wire nuts.
- Light Bulb.
- Ladder or step stool.


Rest easy, each piece in your kit comes with its own number mark. It's our way of making sure you can easily identify and match up the components, eliminating any guesswork.
Step by Step to Install the Wooden Whale Lamp
Step 1: Choose the Perfect Location
Embark on your installation by nailing down the perfect spot for your wood whale pendant light.
Considering every angle, every corner: The room's layout, the ceiling's height, and the very essence of the space itself all play a part in this decision. Assembling your wood whale pendant light is the next exciting act in this installation.
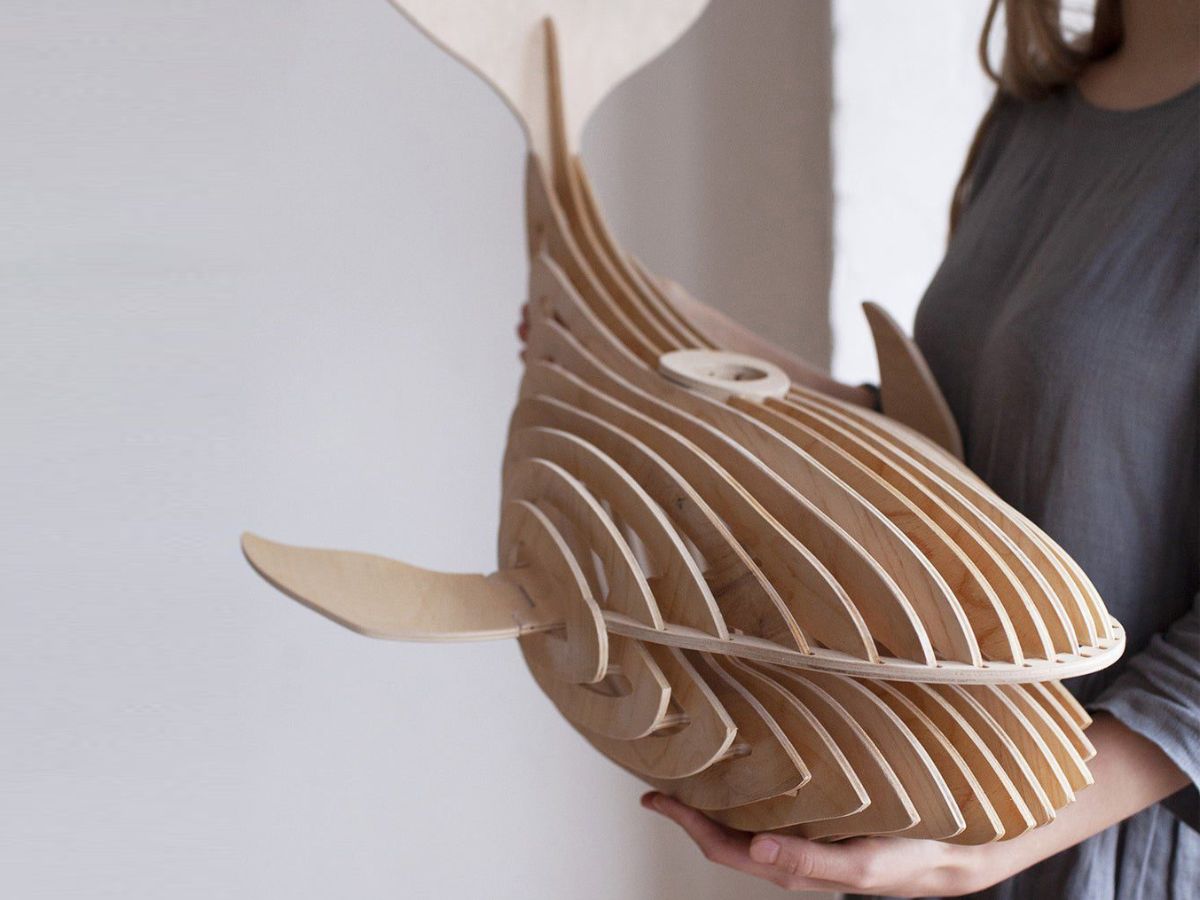
Step 2: Assemble the Whale Pendant Light
Now it's time to put together your wood whale pendant light. Follow the our instructions to assemble the various components of the light fixture.
This includes attaching the wooden whale, connecting the wiring, and securing any additional decorative elements.
Step 2.1: Fixed Position

Start with piece number "0" – attach it to piece "A" with precision. The key here? Ensuring it's facing the right way, just like the picture indicated above.
Tip: put two pieces together to check their alignment before applying glue.
Step 2.2: Assemble In Order

Now, it's time for a sequence. Grab pieces numbered 1 through 8 and position them on either side of piece number 0. Glue them in place, creating a harmonious bond that ensures no piece misses a beat during installation. It's like building a strong foundation, piece by piece.
Step 2.3: Attach The Mouth

Taking the T-piece – like whale's mouth. Let it work by attaching the wooden pieces together, completing the face of your pendant light.
Step 2.4: Finish The Head

Gluing wooden slats D1, D2, D3, and D4, in place to complete the head of your whale pendant light.
And don't forget the luminaire, taking its center position. We'll move to installing the light right now.
Step 2.5: Light

Threading the wire through the wooden pieces and securing it with bolts. Adjust the light's length to your liking by adjusting the ceiling mount and screw.
Step 2.6: Complete

And just like that, you've created a stunning wooden whale pendant light, ready to hang it any corner of your house.
Step 3: Turn Off the Power
Safety first! Before you begin any electrical work, make sure to turn off the power to the existing light fixture at the circuit breaker. This will prevent any accidents or electrical shocks during the installation process.
Step 4: Wiring and Connection
Carefully follow the wiring diagram to connect the pendant light to your ceiling. Strip the ends of the wires, connect them using wire nuts, and secure them with electrical tape.
Make sure each connection is tight and well-insulated.
Step 5: Mount the Ceiling Hook
If your pendant light requires a ceiling hook or anchor, install it securely into the marked location on the ceiling. Ensure that it can support the weight of the light fixture.
Step 6: Test and Adjust
Before finishing up, restore power to the circuit and test the pendant light to ensure it's functioning properly.
If necessary, make any adjustments to the positioning or level of the fixture.
Step 7: Enjoy Your New Light Fixture
Congratulations! You've successfully installed a stunning wood whale pendant light in your space. Step back and admire the warm and inviting ambiance it adds to the room. It's a unique statement piece that's sure to be a conversation starter.
How To Clean and Care Wooden Pendant Light In Less Than 10 Minutes
Once you've mastered installing the wooden whale lamp, knowing how to clean and care for it properly is crucial.
Before you begin:
Gather your supplies: a microfiber cloth, a soft brush (optional), and gentle cleaning sticks (if necessary). Please choose wood cleaners designed for furniture to avoid harsh chemicals.
Turn off the light and allow the bulb to cool completely, for safety.
Safety first: If your whale pendant light is wired to the ceiling, turn off the power to the breaker box before you start.
Step 1: Dust Off (2 minutes)
Start by wiping down the pendant light poles with a microfiber cloth to remove loose dust and cobwebs. Pay close attention to cracks around the bulb coil.
Step 2: Deal with the stubborn ones (optional, 2 minutes)
For thicker stains, use a gentle soft touch brush to avoid scratching the wood finish.
Step 3: Deep clean (optional, 3 minutes)
Occasionally use a gentle wood cleaner to wipe the surface of the wood on a fine mesh cloth. Test the cleaner on a small area first to make sure it won’t discolor the wood. Buff the wood with a dry microfiber cloth afterward.
Step 4: One final polish (1 minute)
Finish by polishing the wood with a clean, dry microfiber cloth to remove the fibers and give them a shine.
And there you have it!
In less than 10 minutes, your Wood Whale Pendant Light is clean and ready to light up your space. With this simple process, your whale lamp will remain an interesting focal point for years to come.
Conclusion
Installing and maintaining your Wood Whale Pendant Light doesn't need to be daunting. With this easy, 10-minute routine, you can keep your whimsical fixture sparkling and ensure it remains a conversation starter, providing warm illumination.
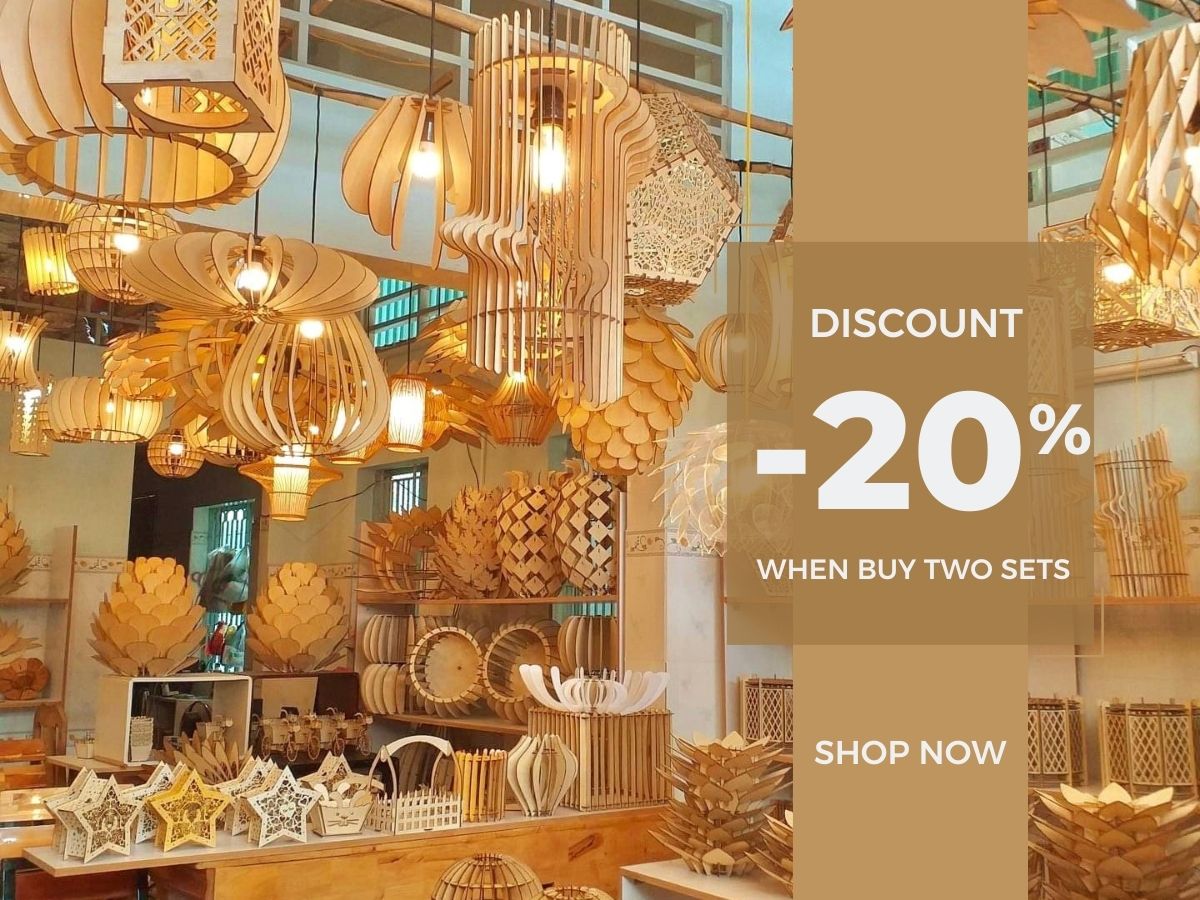
To discover more wooden pendant lights styles, visit our shop, 194 Craft House. Don't miss out on our 20% OFF discount when purchasing 2 sets or more!

1 comment
Great product. Responsive seller. Arrived quickly.